I hope there are a few other beginning quilters out there who can benefit from the lessons I’m learning from my mom as I make a quilt for my son. Choosing fabrics was the first in my series of posts on beginning quilting.
My next step is to cut all my fabrics and get them ready for piecing.
Now I cut fabrics all the time for various projects, but cutting for a quilt requires precision. So I dropped by my Mom’s house the other day for a dust up lesson on how to accurately cut my stack of fabrics. My mom has taught quilting classes for many years, and I feel so lucky to have her as a resource.
First off, she said it’s important to have a good mat, ruler and sharp blade. She recommends before buying a ruler, really looking at them carefully and find one you are comfortable with, one that is easy to read.

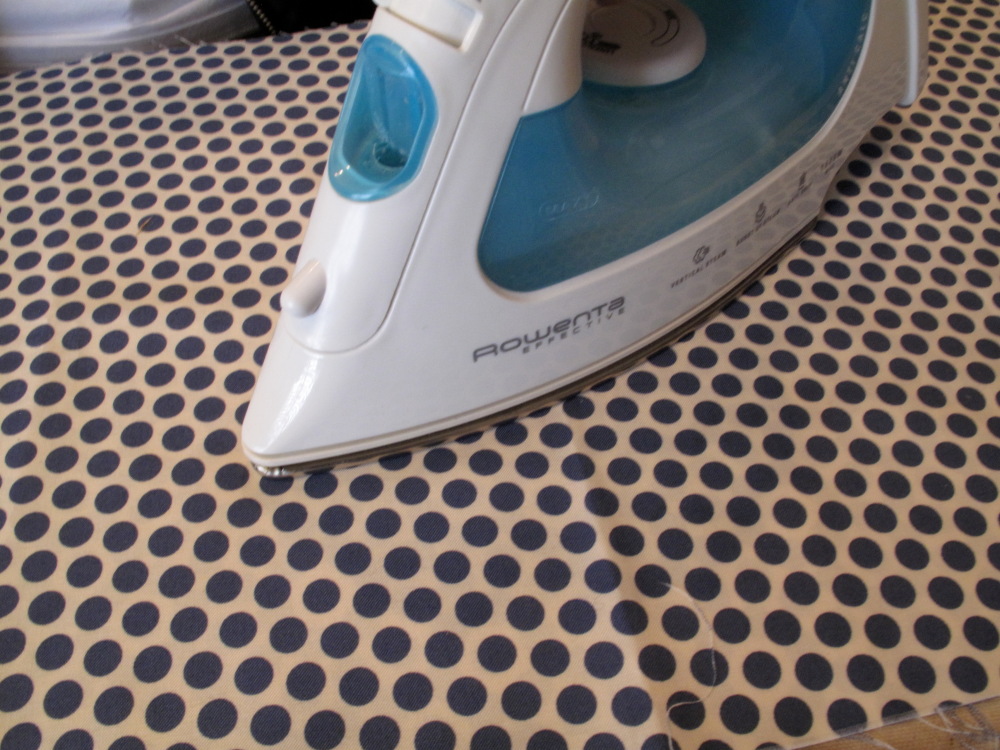
The next key to accurate cutting is to carefully press all your fabrics first.

Now it’s time to square up the fabric before cutting. Always use the folded edge of the fabric to square up the ruler.

This next advice saved me many a slipped ruler and subsequent crooked fabric when I learned it. As you cut, carefully “walk” your hand down the ruler. That way you never take you hand off the ruler and the ruler won’t slip.
The rule of thumb is you can cut up to 4 layers of fabric accurately…. my mom admits she sometimes breaks that rule and cuts up to 6 layers with a sharp blade. But she is a pro and I’m sticking to 4 layers.
She also stressed the old adage: “Measure twice, cut once.”
Organization is another important part of cutting. She folds each piece and stacks them as she cuts to keep them in order. She also folds up any worthwhile scraps and sets them aside so they don’t get mixed back up with fabrics for the quilt.
Thanks Mom for the lesson… I can’t wait to move on to the next step, piecing my quilt together. That’s where the fun really starts.
Không có nhận xét nào:
Đăng nhận xét